How to Make a DIY Minimal Sew Mask
- Difficulty Medium
- Time required 2-3 hours
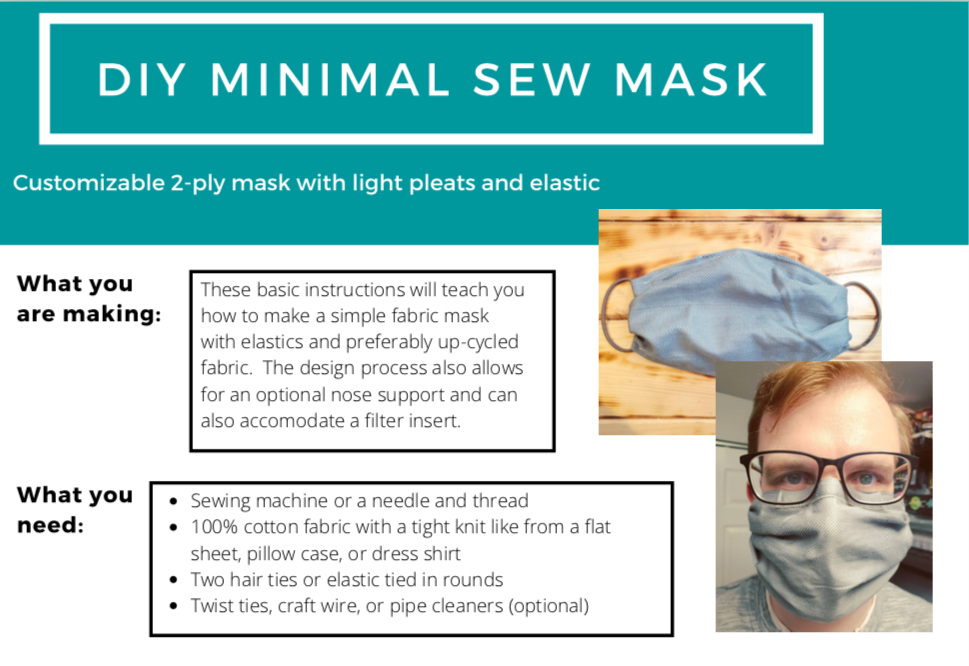
These basic instructions will teach you how to make a simple fabric mask with elastics and preferably up-cycled fabric. The design process also allows for an optional nose support and can also accomodate a filter insert.
What you’ll need
- Sewing machine or a needle and thread
- 100% cotton fabric with a tight knit like from a flat sheet, pillow case, or dress shirt
- Two hair ties or elastic tied in rounds
- Twist ties, craft wire, or pipe cleaners (optional)
Fabric & Sizing
For the body of the mask cut one piece of fabric- size suggestions as follows:
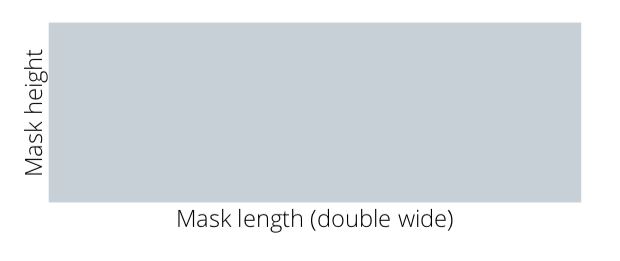
- Youth (5” x 14”)
- Adult S/M (6” x 16”)
- Adult L/XL (7.5” x 18”)
This is customizable, basically you need the mask height to be the short edge and the long edge will be double the width of your finished mask. If you want to test a size, cut a template from scrap paper and hold it up to your face (example- for the S/M cut a 6” x 8” template). It should cover both your nose and go under your chin.
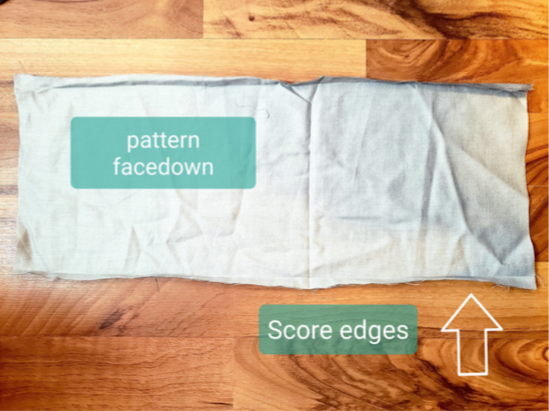
Step 1
Place the fabric face down on work surface. Using a hard edge or iron, fold inward and score the bottom and top long edge 1/4” of the fabric.
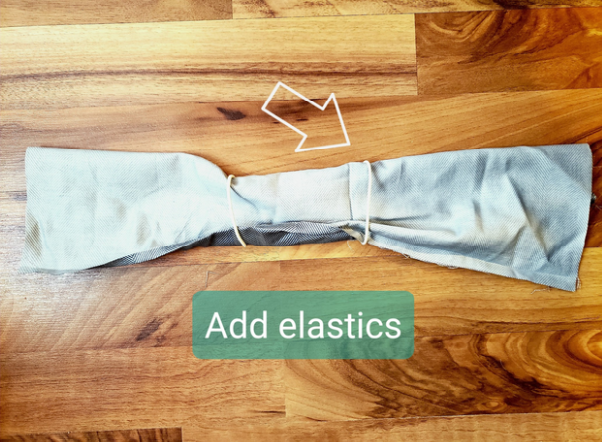
Step 2
Add elastics around the fabric long ways.
Step 3
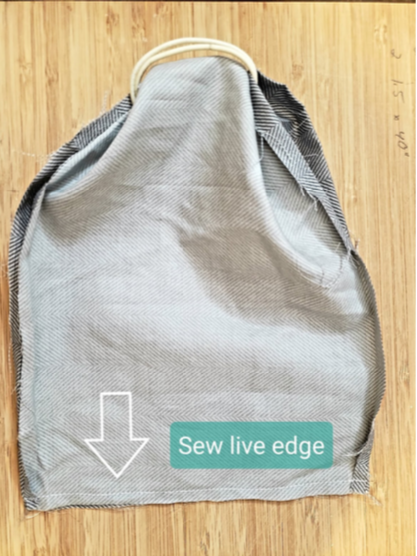
Align the short edges of the fabric and sew along the entire length making sure to sew over the scored folded edges to secure them.
Step 4
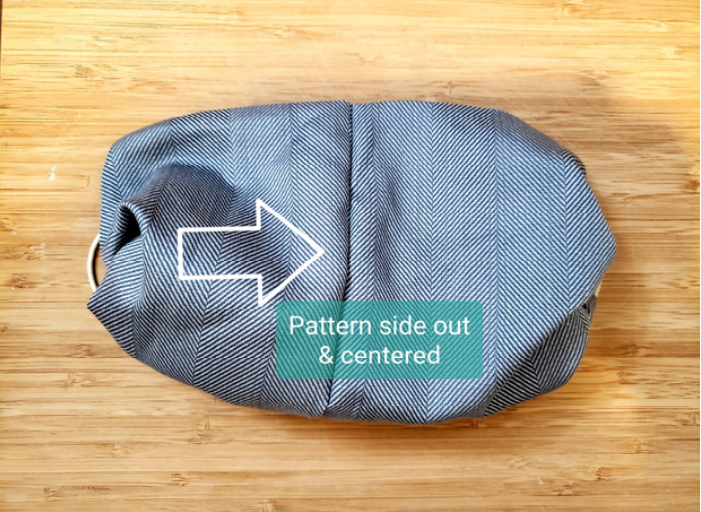
Turn the fabric right side out so that the pattern is visible. Move the elastics to each side and center the sewn edge.
Step 5
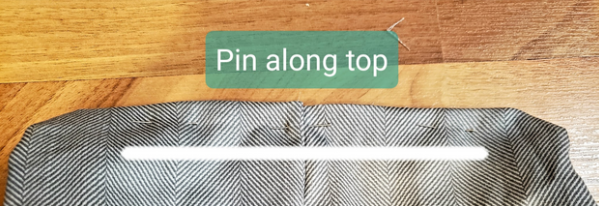
Align the top edges and pin taking care to make sure the scored live edges are folded inwards and the sewn short edge is centered- use a ruler if needed to measure.
Step 6
Starting about 1/4” from the elastic pocket edge, sew the pinned edges together ending about 1/4” from the other elastic pocket edge.

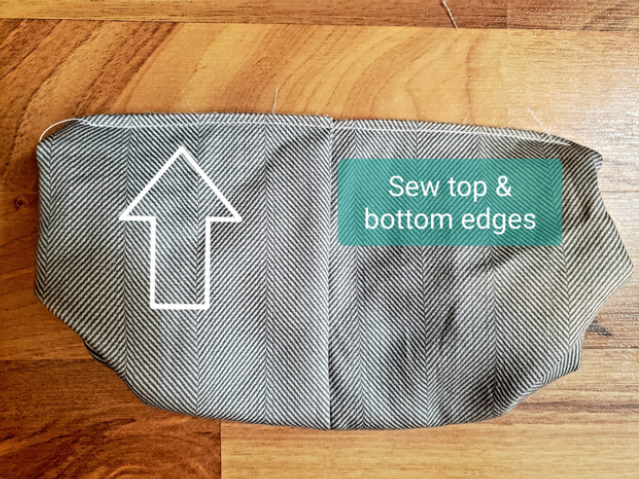
Repeat steps 5 & 6 for the bottom.
Step 7
With the top and bottom edges sewn, you are done if you are not adding the optional nose support pocket. (YAY!)
The side with the sewn short edge is the inside of the mask that rests against your face.
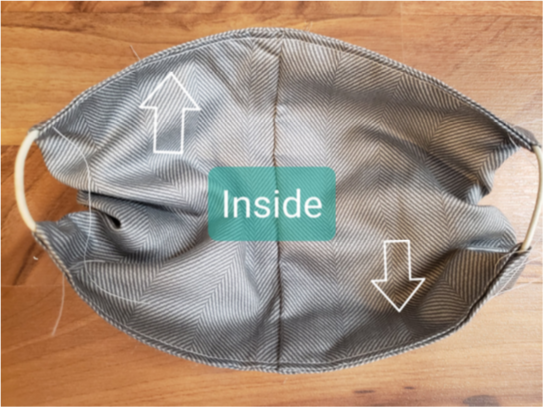
Make sure to trim any strings and adjust your pleats as needed.
Adding a nose support (optional)
If you are using up-cycled fabric you can use some of the folded edging for your nose support pocket.

If you do not have this option, sew a long tube to fit your support material securing any live edges.
Step 1
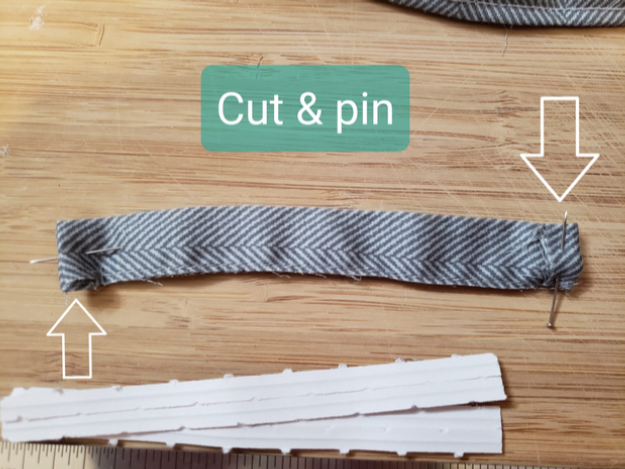
Cut your pocket one inch longer than your nose support of choice.
Fold the live edges inward 1/4” at the opening of the pocket (left side of image) and fold the back edge under (right side of image) which will lay against the fabric of the mask - pin both as needed.
Step 2
Pin pocket at top edge of mask making sure it is centered and that the folded back edge of the pocket is facing down.

Step 3
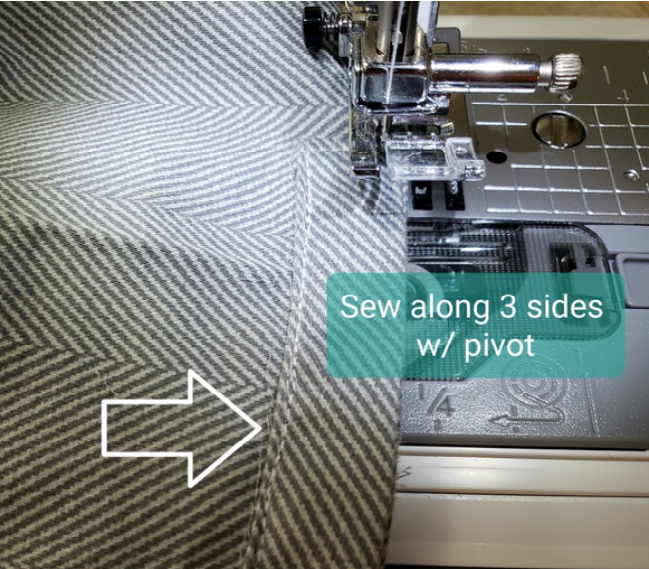
Starting from the open side of the pocket, sew all three edges to the mask as close to the pocket’s edge as possible without affecting the integrity.
When you get to the corners, lift your presser foot and pivot to continue sewing on the other edge.
Step 4
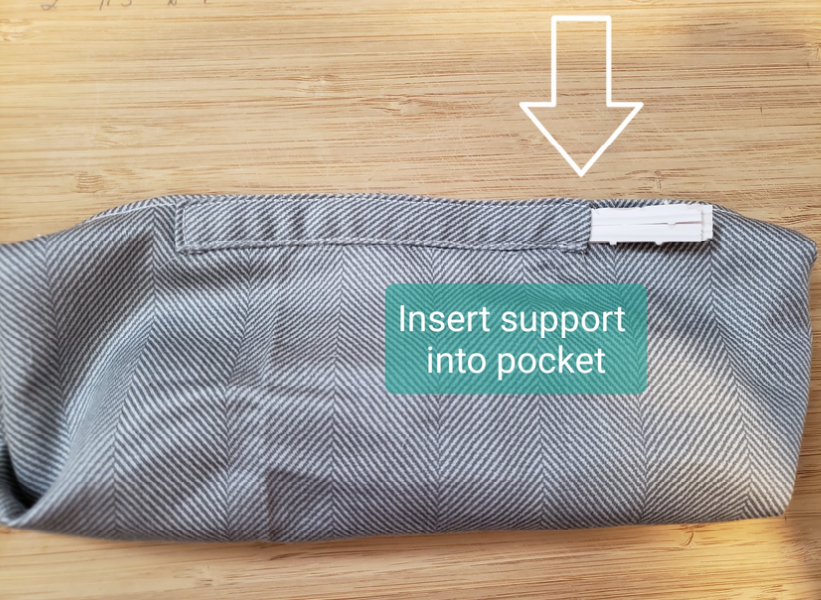
Once your edges are sewn, you can add your support into the pocket.
Make sure you remove your support if you need to wash you mask (do this as often as possible).
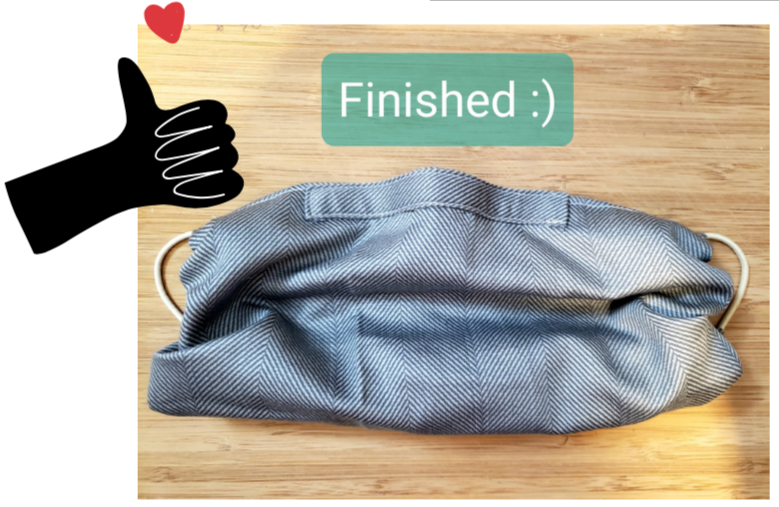
Marvel at your creation because you are finished!!
Notes:
- This mask can be machine washed and dried
- Worn elastics can be removed and replaced