Equipment
Our lab equipment includes: 3D printers, lasercutters, sewing machines, electronic (vinyl) cutter, CNC mill, and more. Get all the details of our equipment to better understand material and size limitations.
Lasercutting
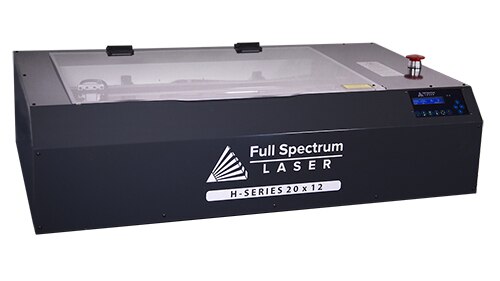
- Full Spectrum 45W CO2 H-Series Engraver/Cutter (5th gen)
- Bed Size: 20” x 12” (in practice, usable area is closer to 19.5” x 11.5”)
- Machine Software: RetinaEngrave
- Design Software: Inkscape
- Modes: Vector Cut, Vector Engrave, Raster Fill
- Materials: Most wood/acrylic up to 1/4” thick. See the approved materials list and suggested lasercutter settings.
- Download Inkscape (v.92) Lasercut Design Template (SVG)
- DESIGN FILE PREPARATION
- File Format: SVG (file must open in Inkscape)
- VECTOR CUT: Stroke paint is 100% RED [RGBA(255,0,0,255) or 000000ff]. Stroke width is .003 inches.
- VECTOR ENGRAVE: Stroke paint is 100% BLACK [RGBA(0,0,0,255) or 000000ff]. Stroke width is .003 inches.
- RASTER FILL: Fill color is 100% BLACK [RGBA(0,0,0,255) or 000000ff]. No stroke.
- For all strokes and fills, alpha transparency is 100% and opacity is 100%
- No special shapes or text. All texts and shapes must be paths (Path -> Object to Path)
- Everything is ungrouped (CTRL+A to select all, CTRL + SHIFT + G to ungroup)
- File opens in RetinaEngrave without errors, no missing sections or parts. Time estimate must not exceed Maker Lab time limit.
3D Printing
- Bambu P1S 3D Printers
- Build Volume: 9.8” x 9.8” x 9.8” (941 cubic inches)
- Machine Software: Bambu Studio
- Design software: Tinkercad, Fusion 360 (any 3D cad software that can output OBJ or STL)
- Material: PLA filament
- Download example STL file
- DESIGN FILE PREPARATION
- File Format: STL or OBJ
- File opens in machine software without errors.
- Check object orientation in machine software to minimize the need for rafts & supports.
- Check if size looks correct (not too big or small). Fine details may not print well at smaller sizes.
- In machine software, check time estimate using desired print settings. Typical layer height is .3mm. Print time must not exceed Maker Lab time limit.
Electronic Cutter
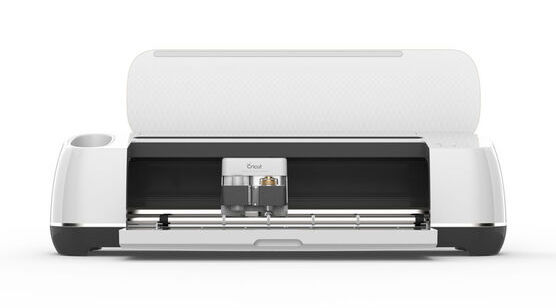
- Cricut Maker
- Work Area: 12” wide x 24”
- Design software: Inkscape, Cricut Design Space
- Machine software: Cricut Design Space
- Tools: knife blade, rotary blade, pens & markers
- Materials: Paper, thin fabrics, vinyl, heat transfer. See approved materials list.
- DESIGN FILE PREPARATION
- File format: Inkscape SVG or Cricut (design.cricut.com)
- File can open in Cricut without errors, no missing sections or parts. If things appear out of order when previewing the cut, the paths may need to be combined in Inkscape (Path -> Combine) or Cricut (Weld)
- Check for problematic regions. Sharp corners and highly detailed areas may not cut well.
- Design uses solid fill colors to indicate areas intended to be cut or not cut
- Design must fit within the work area
- Cut time must not exceed Maker Lab time limit
- Inkscape SVG: Everything is ungrouped (CTRL+A to select all, CTRL + SHIFT + G to ungroup)
- Inkscape SVG: No special shapes or text. All texts and shapes must be paths (Path -> Object to Path)
Sewing & Embroidery
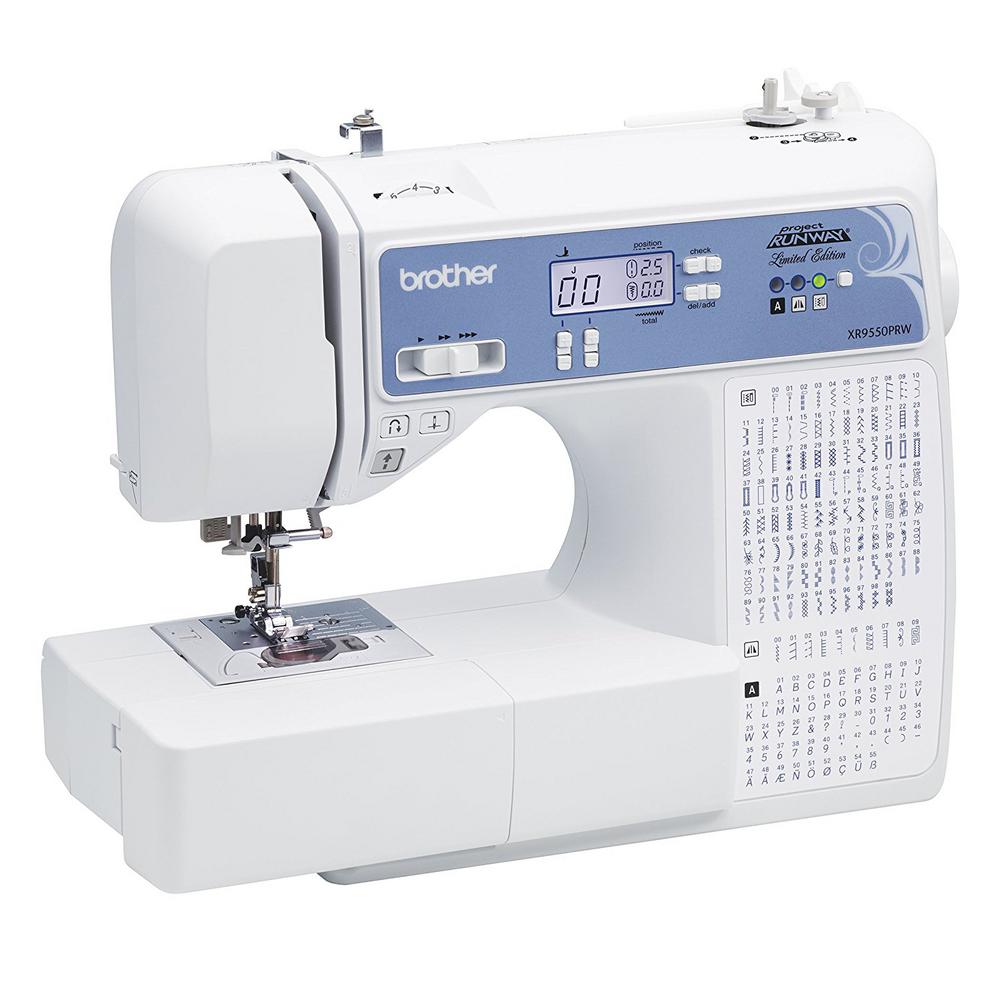
- Brother Sewing Machine (BROTHER XR9550PRW)
- Computerized stitch selection (165 built-in stitches)
- Adjustable speed control
- Quick-change presser feet
- Brother Sewing Machine YouTube Playlist
- How to Thread Mechanical and Automatic Machines
- How to Wind a Bobbin on a Brother Sewing Machine
- Bobbin Threading
- How to Change Feet
- How to Change the Needle
- Husqvarna Viking Designer Diamond Embroidery Machine
- Design software: Inkstitch (plug-in for Inkscape)
- Machine software: Built-in touch panel
- File Formats: SVG, VP3
- DESIGN FILE PREPARATION
- Inkscape SVG: Everything is ungrouped (CTRL+A to select all, CTRL + SHIFT + G to ungroup)
- Inkscape SVG: No special shapes or text. All texts and shapes must be paths (Path -> Object to Path)
- Different colors should be used to represent different spools of thread or separate sections (the machine will stop and wait for a new spool to be loaded)
- Design is not too big or small, and fits within an available machine hoop size
- Inkscape SVG converts cleanly to a VP3 file without errors using Inkscape: Extensions > Ink/Stitch > Embroider. Inkscape: Extensions > Ink/Stitch > Troubleshoot Objects can help resolve errors. Removing extra nodes, avoiding overlapping areas, simplifying paths, and joining multiple nodes together can help.
- When the VP3 file is copied to a USB thumb drive, the file can be successfully loaded into the machine.
- Sewing time must not exceed Maker Lab time limit
- Brother Electroknit KH-930
- Design software: Img2track.exe
- File formats: JPG, JPEG
- DESIGN FILE PREPARATION
- JPEG: Img2track prefers bit map images in JPG or JPEG format, but many other file types work. It works bests with photographs and does not translate vector images very well.
- Image quality correlates with the width of your project. The maximum width possible is 200, smaller widths can still produce detailed knit images.
- The lighter of your two yarn colors should be in the A slot on the sinker plate, the darker of the two colors should be in the B slot.
3D Scanner
- Kinect via Skanect
Electronics
- BBC Micro:bit
- Arduino microcontroller
- Littlebits
Audio
- Zoom H6 Audio Recorder
- Headphones
Crafts
- Basic crafting tools (scissors, paper, fabric, tape, glue, etc)