How to Use a Zoom H6 Audio Recorder
- Difficulty Medium
- Time required 20 Minutes
Want to record high quality audio? Zoom H6 audio recording devices are available for check out at the Harold Washington Library Center. This guide will teach you the easiest way to make a recording: how to turn on your zoom device, attach a module, record, stop recording, and upload your file. There are more complex features and tools on the Zoom H6, but this guide lists only the most essential steps needed in order to make a basic audio recording.
Step 1
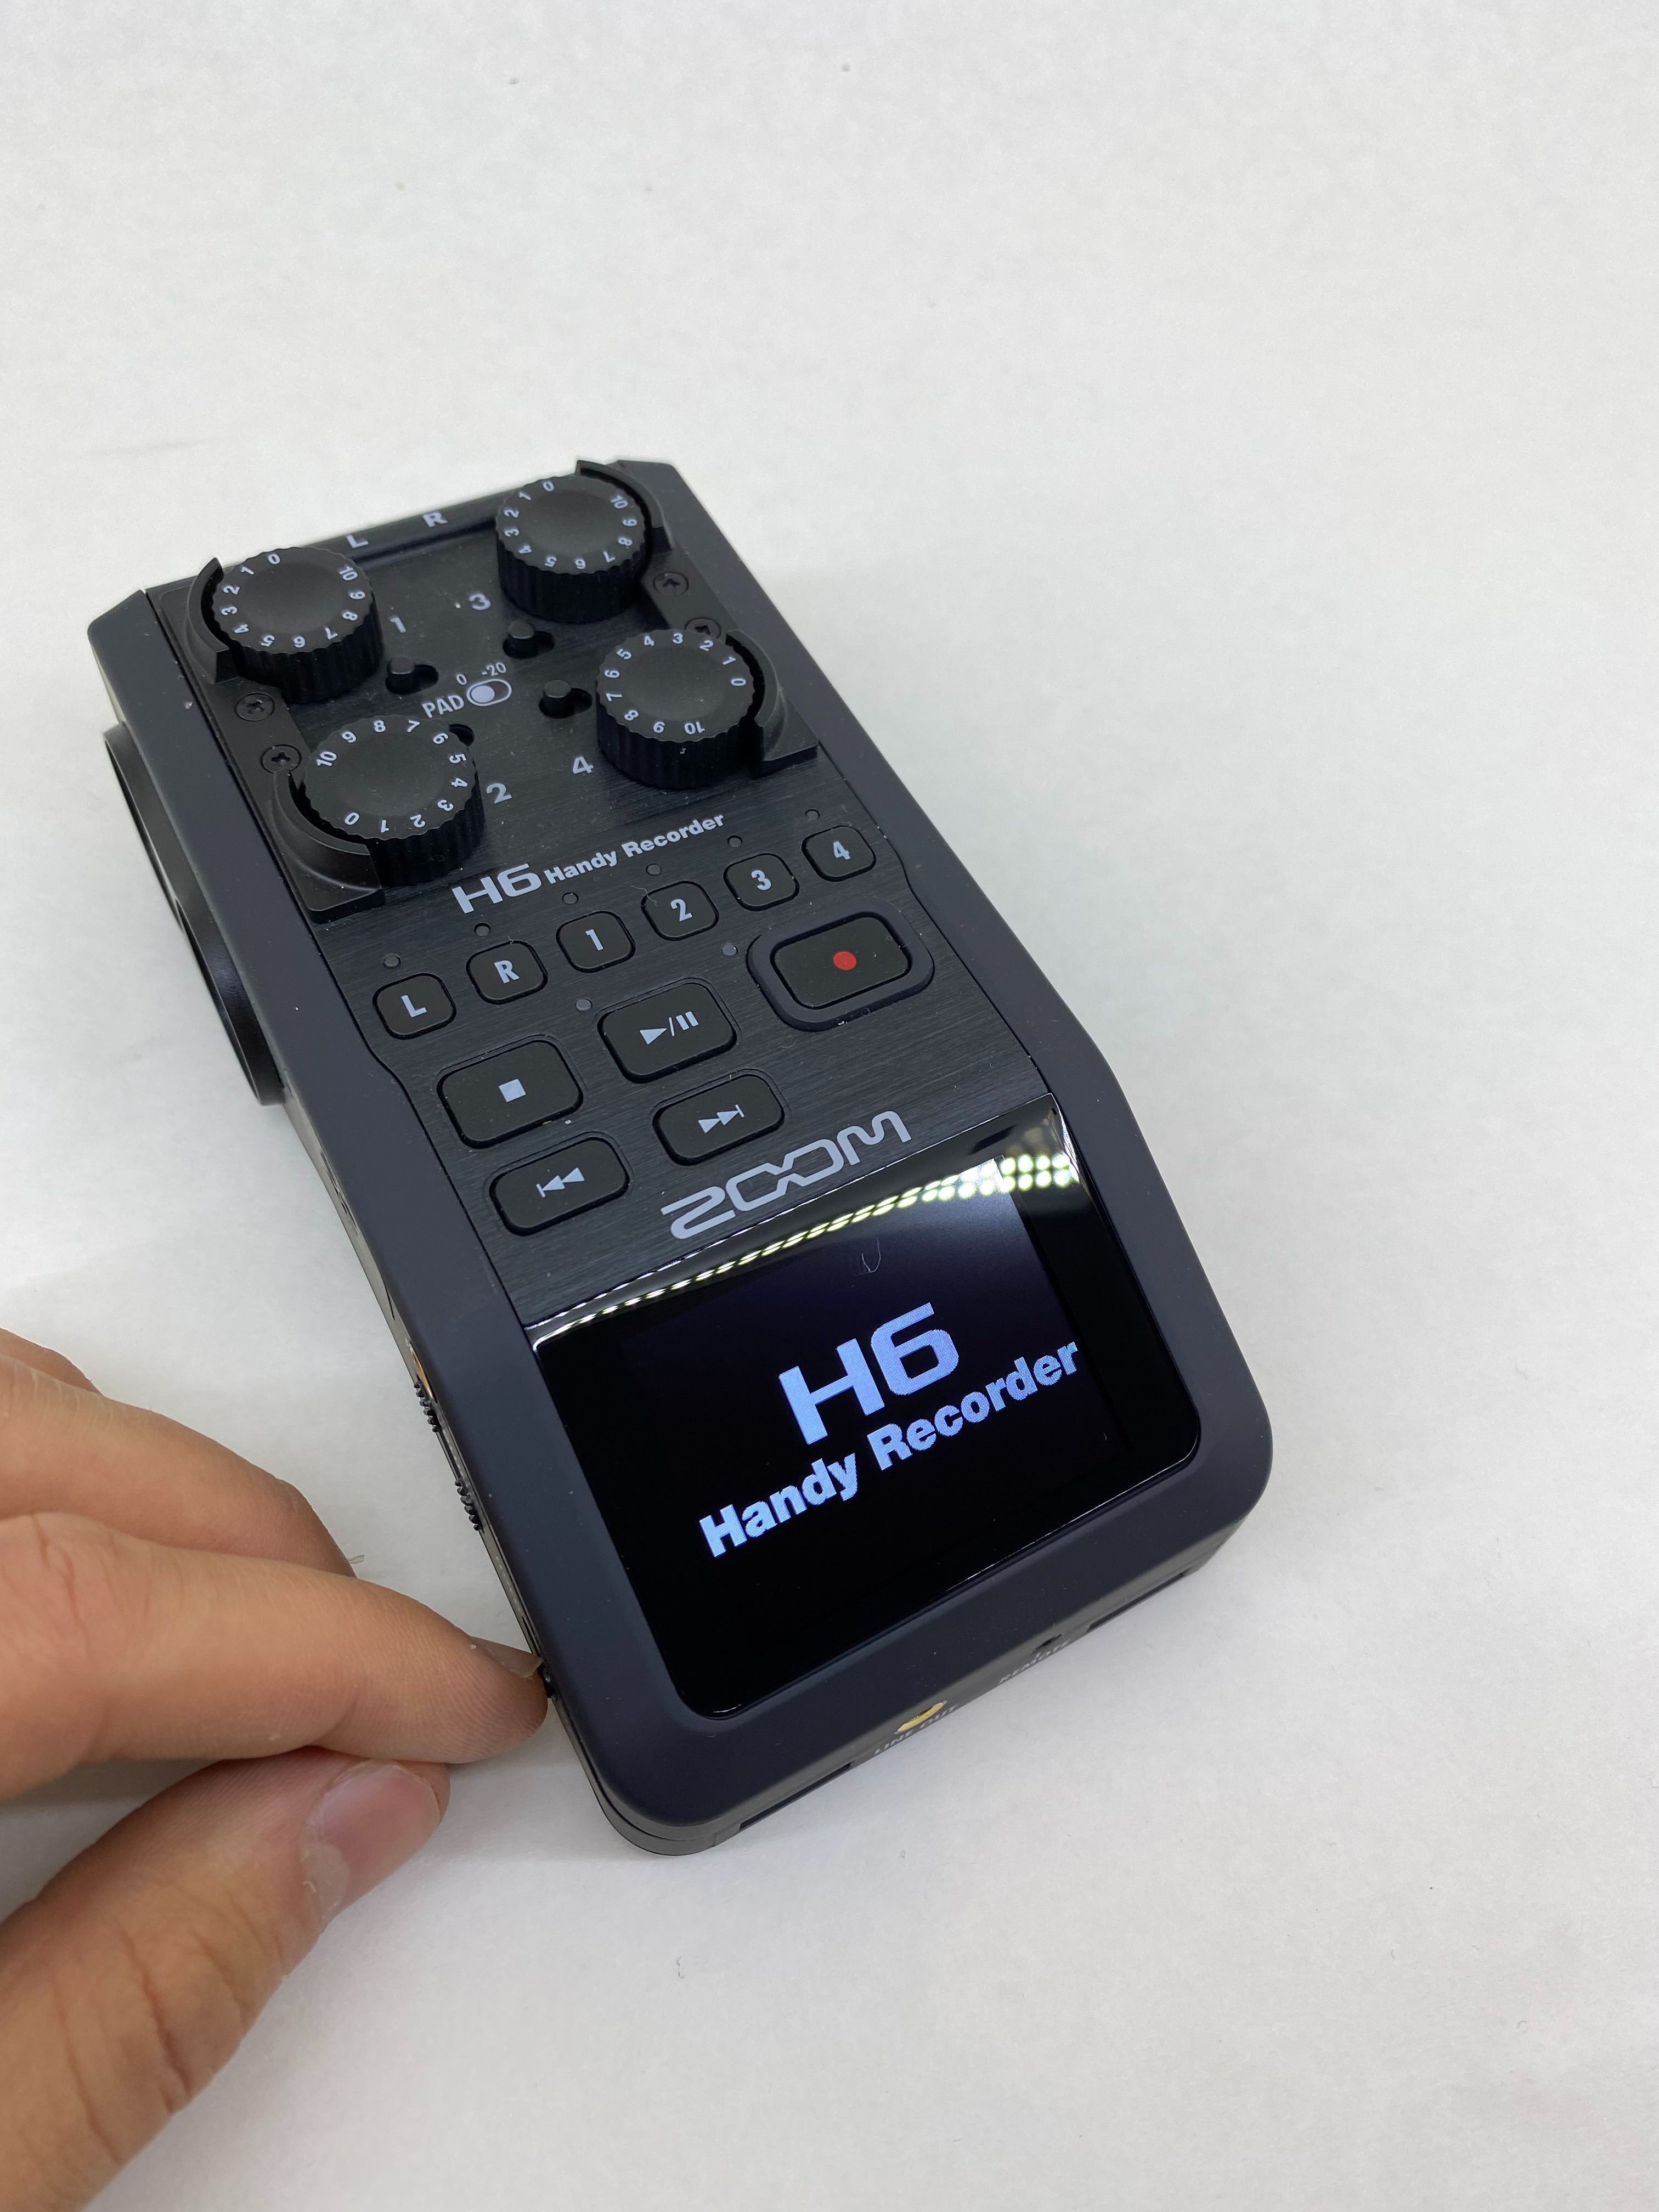
To turn on the Zoom H6, hold down the power button on the left hand side. A screen will then appear that says “H6 Handy Recorder.” Your device should also already have an SD card inserted, which is located in the slot on the left hand side labeled “SD XC.”
Step 2
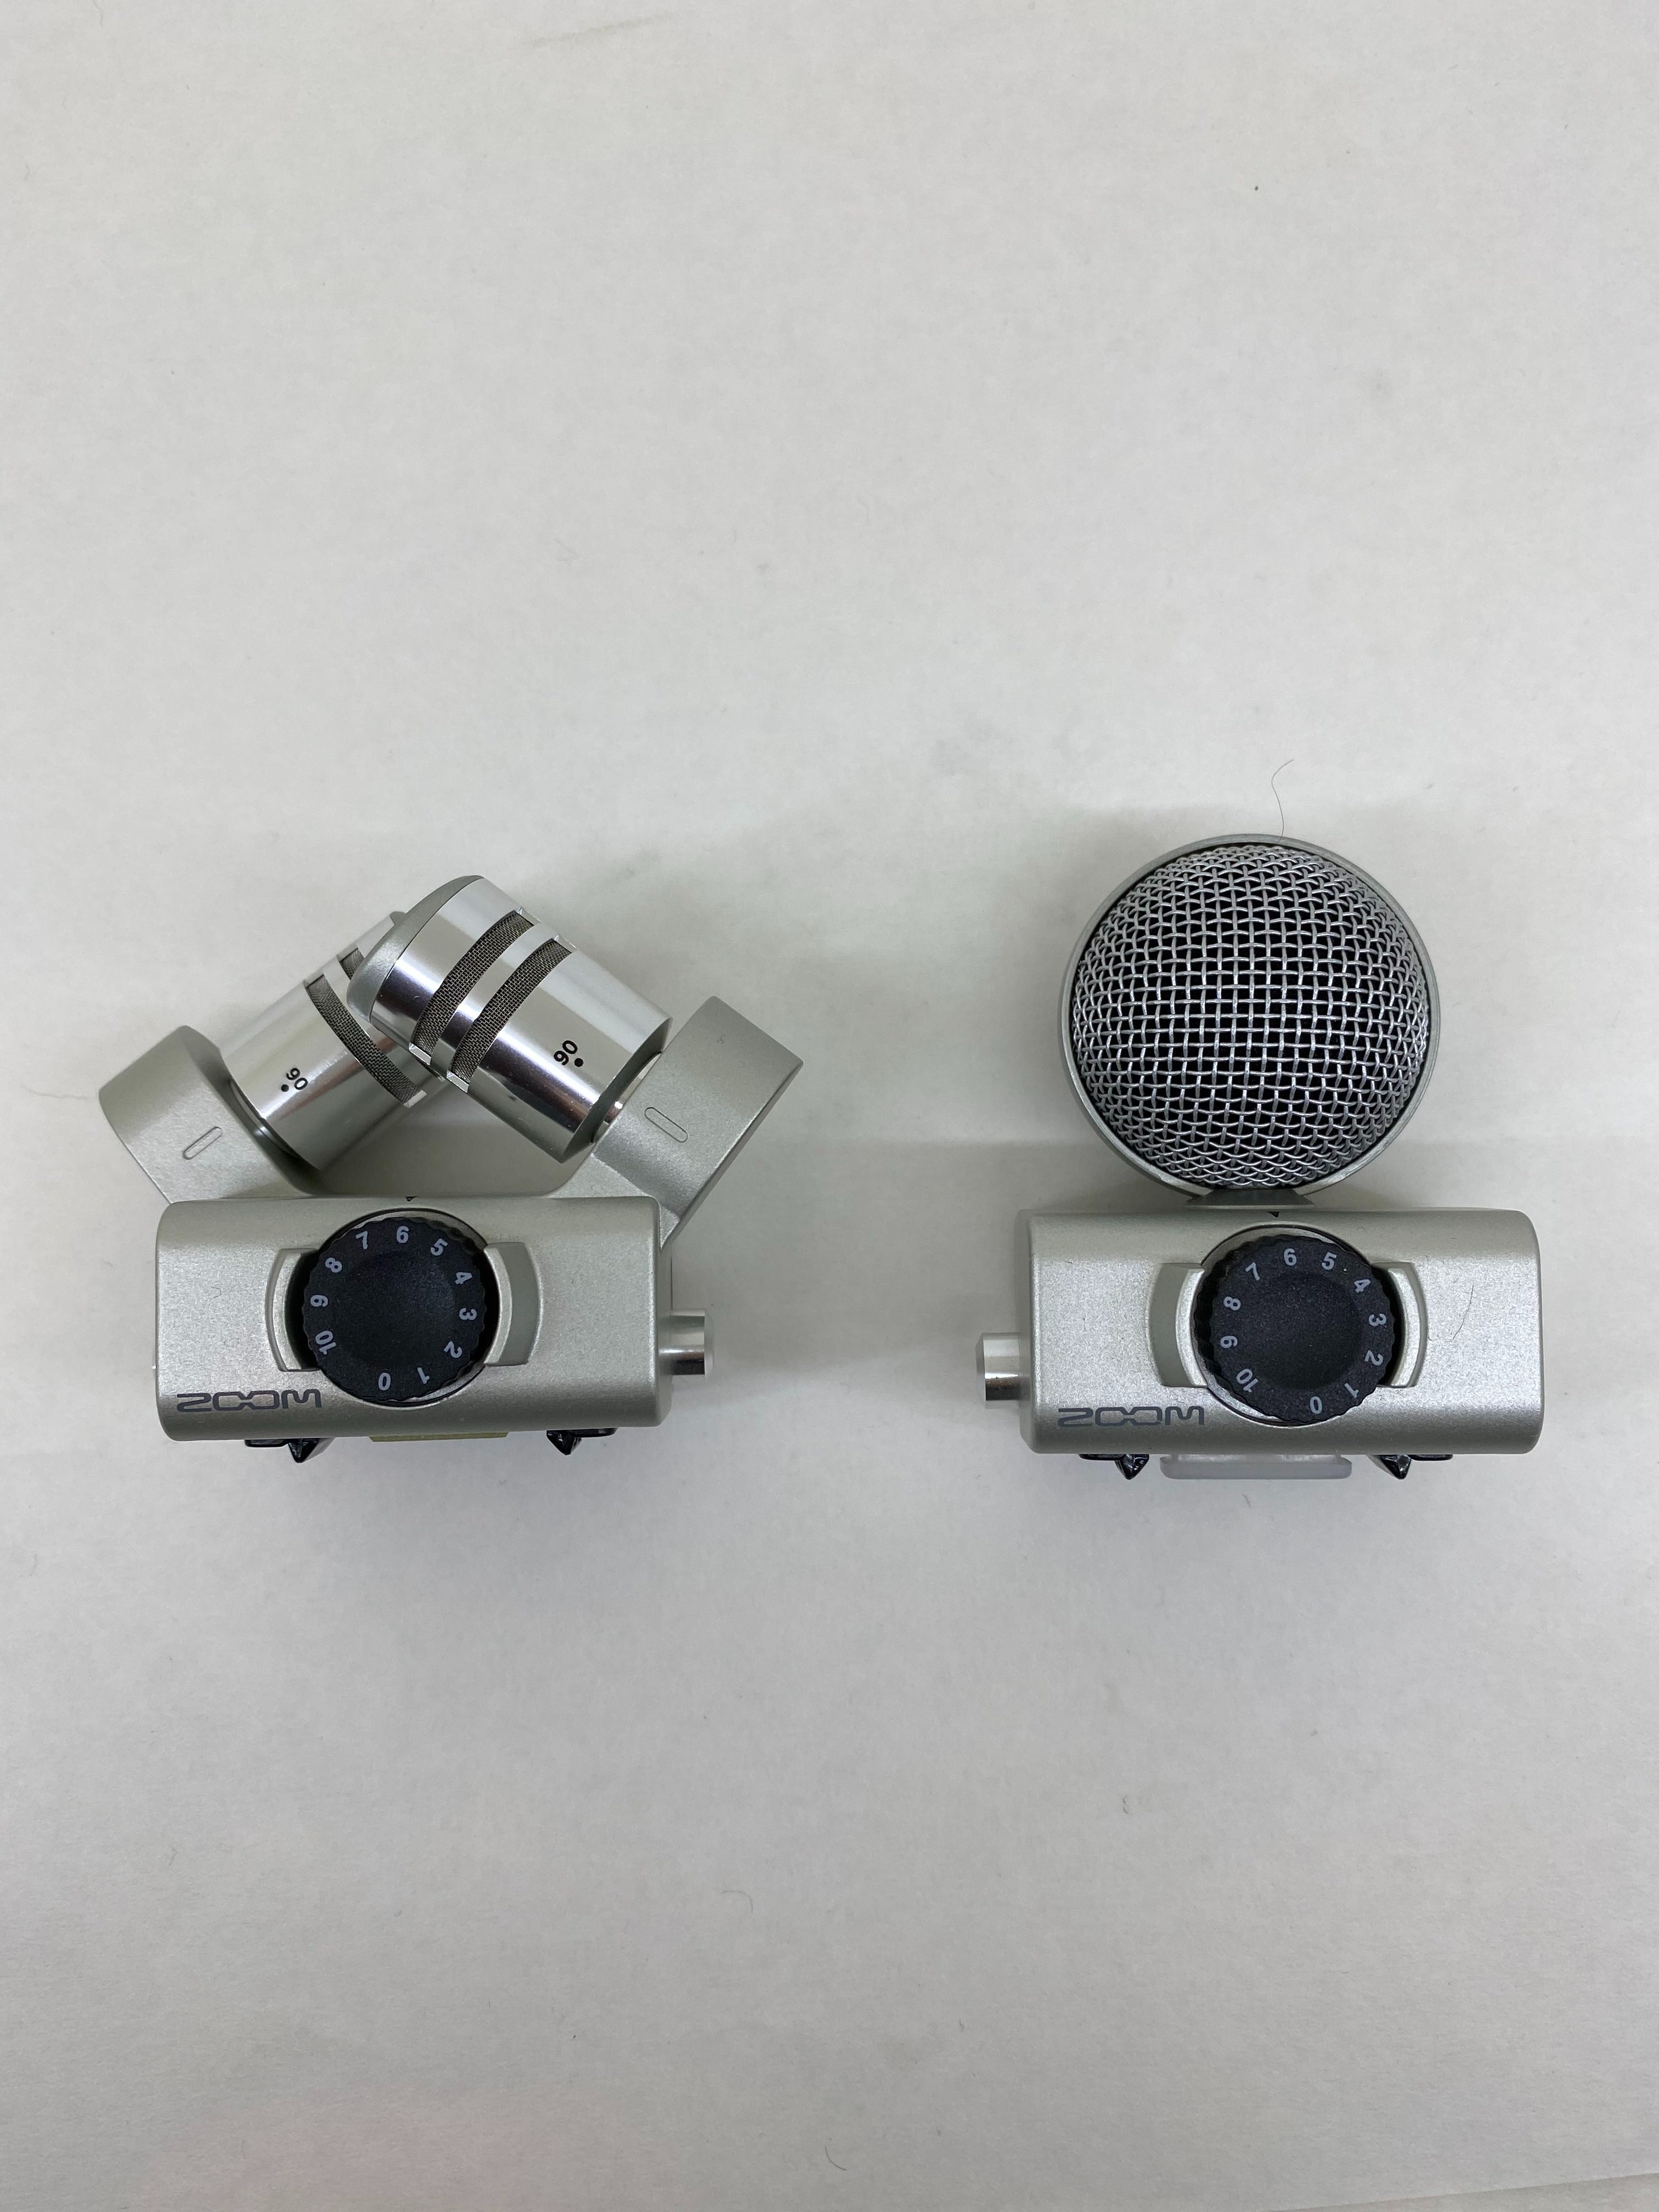
Select which microphone head you would like to use, either the XY Mic or MS Mic. The XY Mic is generally for close and medium range recordings and the MS is generally for long distance recordings. Both will work for a basic recording, but the guide included with your Zoom H6 kit explains what each does in further detail:
| XY Mic This has two crossing directional mics. By rotating the mics, you can switch the width of the recording field between 90° and 120° Features: Newly developed large diaphragm mics enable low and high frequencies to be recorded with good stereo placement while sounds in the center are captured clearly. This mic is ideal for recording at close and medium ranges when aimed at specific sound sources to capture a three-dimensional sound with natural depth and width. Use examples: solo performances, chamber music, live rehearsals, field recording. MS Mic This mic combines a unidirectional mid mic that captures sound from the center with a bidirectional side mic that captures sounds from the left and right. By adjusting the side mic level, you can change the stereo width as you like. If you record in MS-RAW mode, you can adjust the side mic level after recording to change the stereo width. Features: This mic can capture a wide and detailed stereo image, making it ideal for recording wide open spaces with multiple sound sources. With the side mic off it can also be used for mono recording. Use examples: orchestras, live concerts, soundscapes. Use examples with side mic off: interviews, narrations, meetings. |
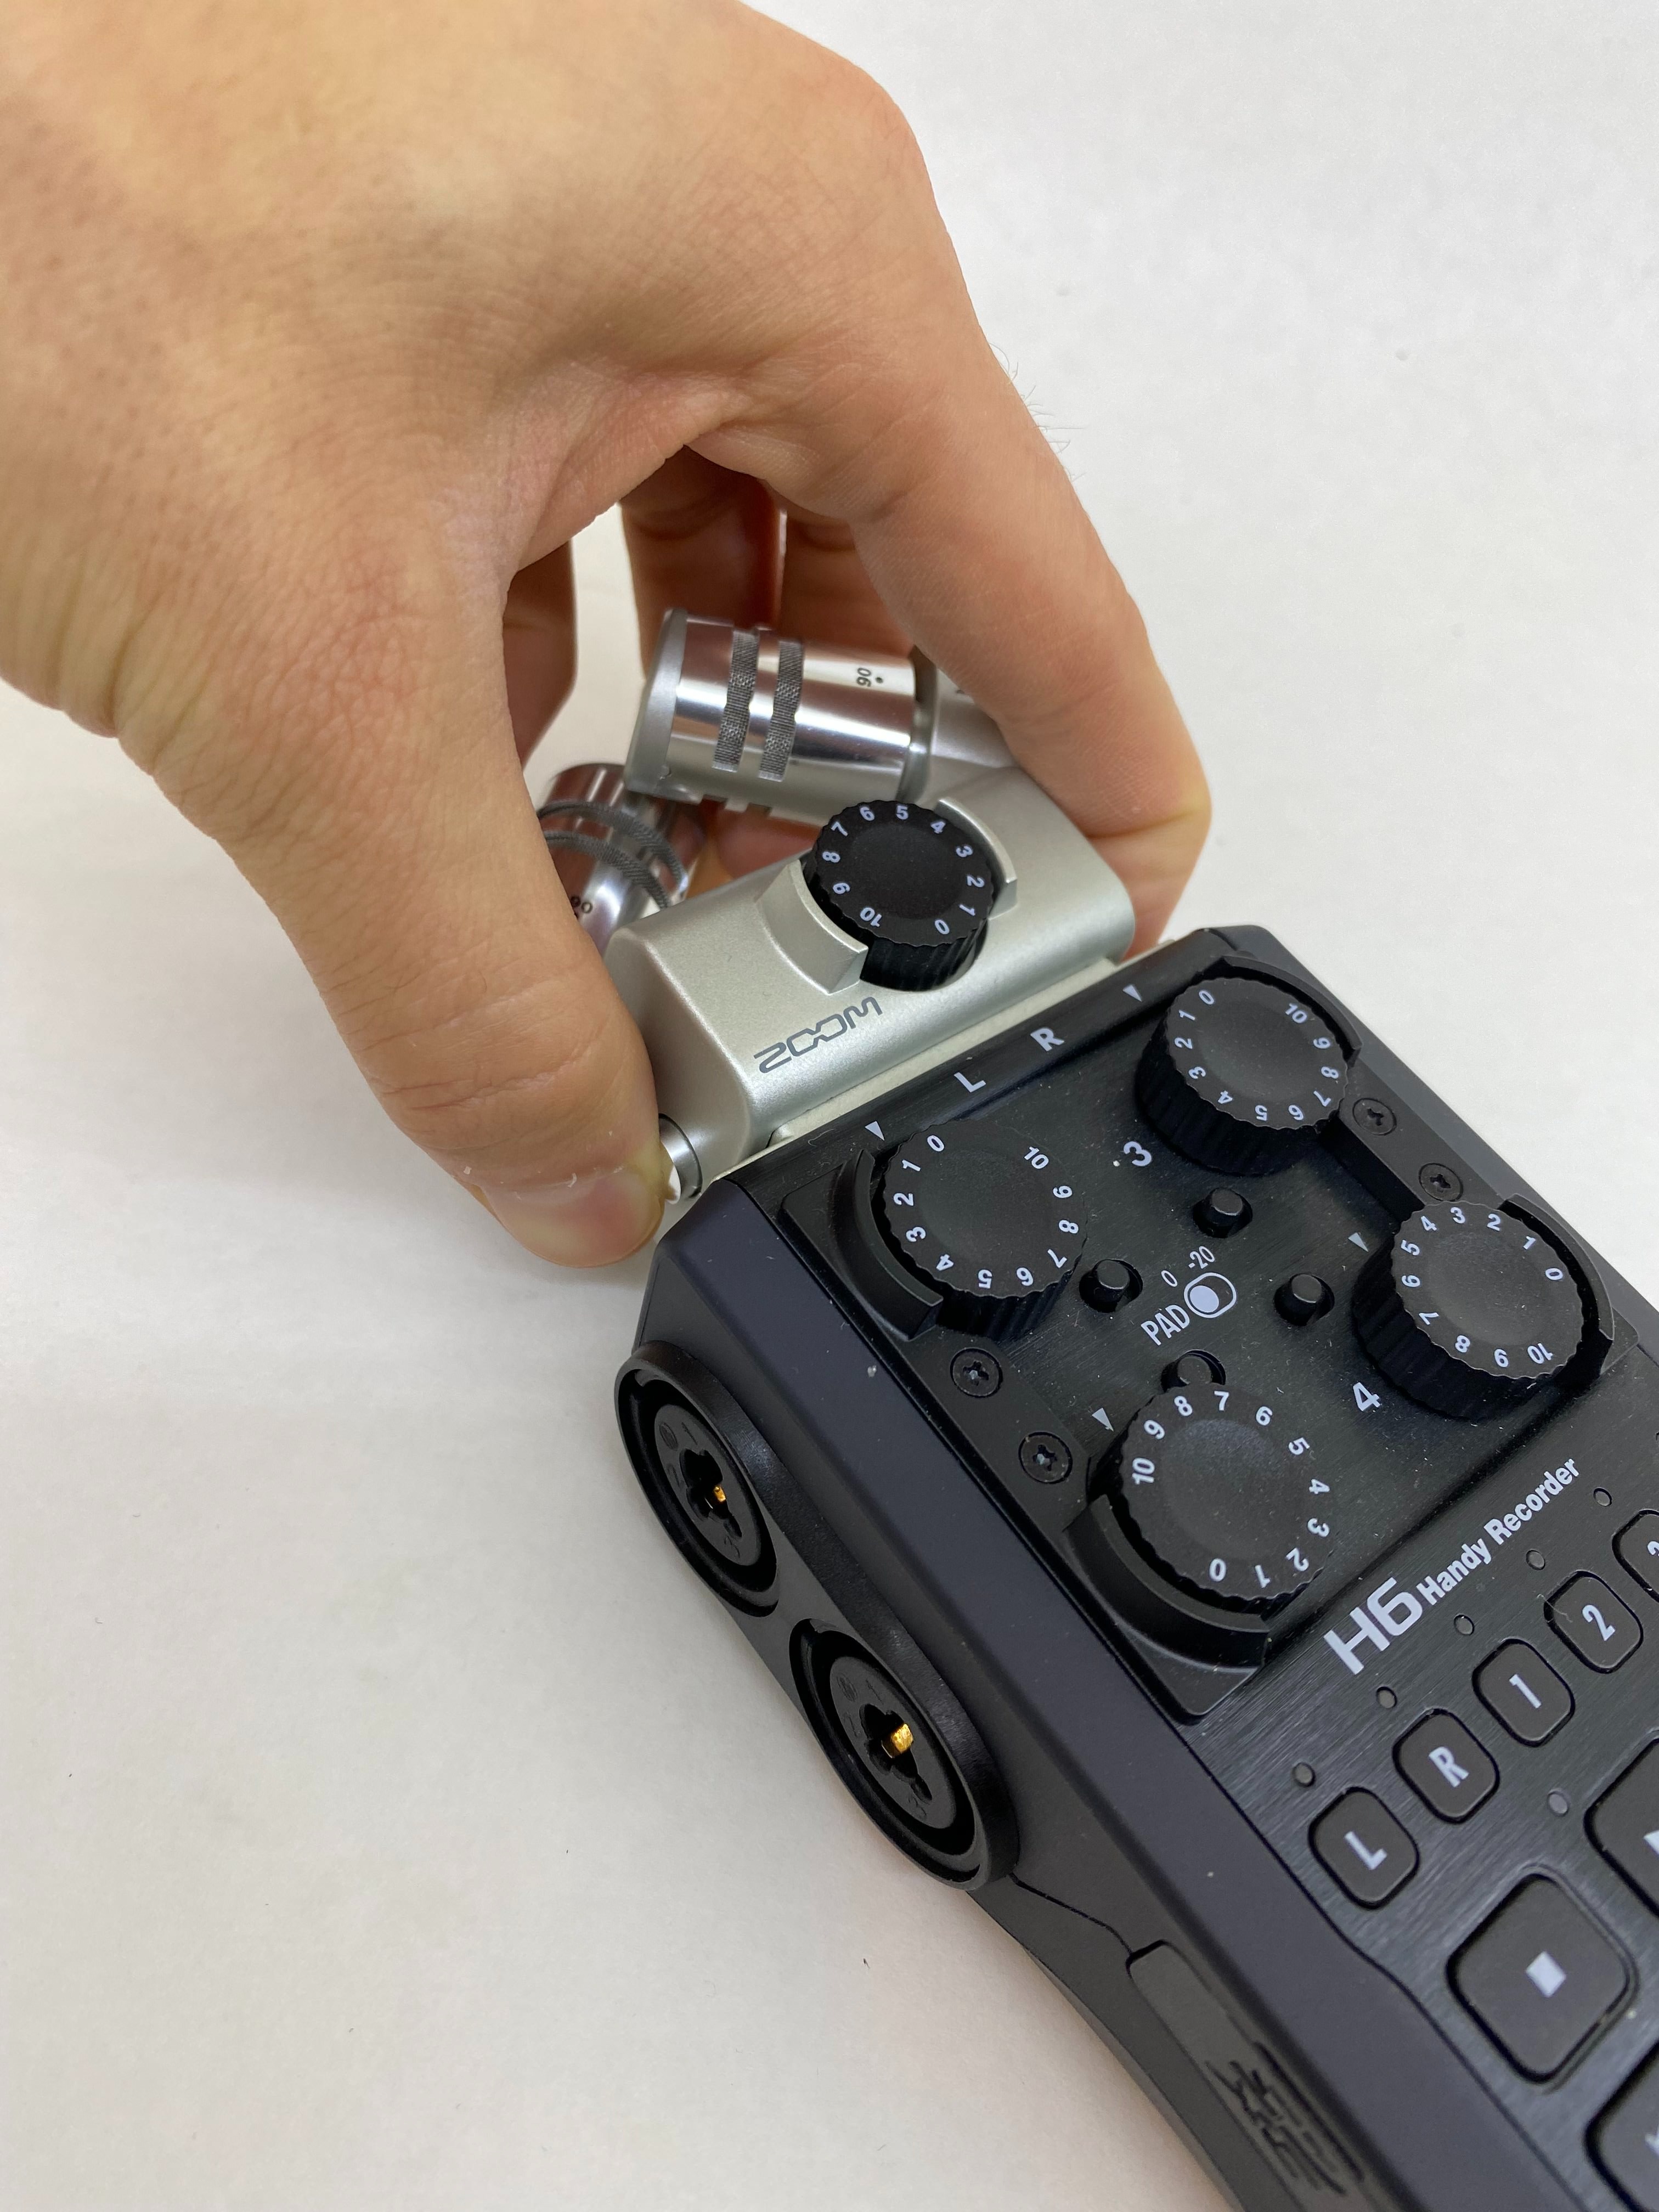
Step 3
You now need to attach the selected mic. To connect it, press down on the sides of the mic and connect it to the main unit at the top. Push it in until it is connected completely.
Step 4
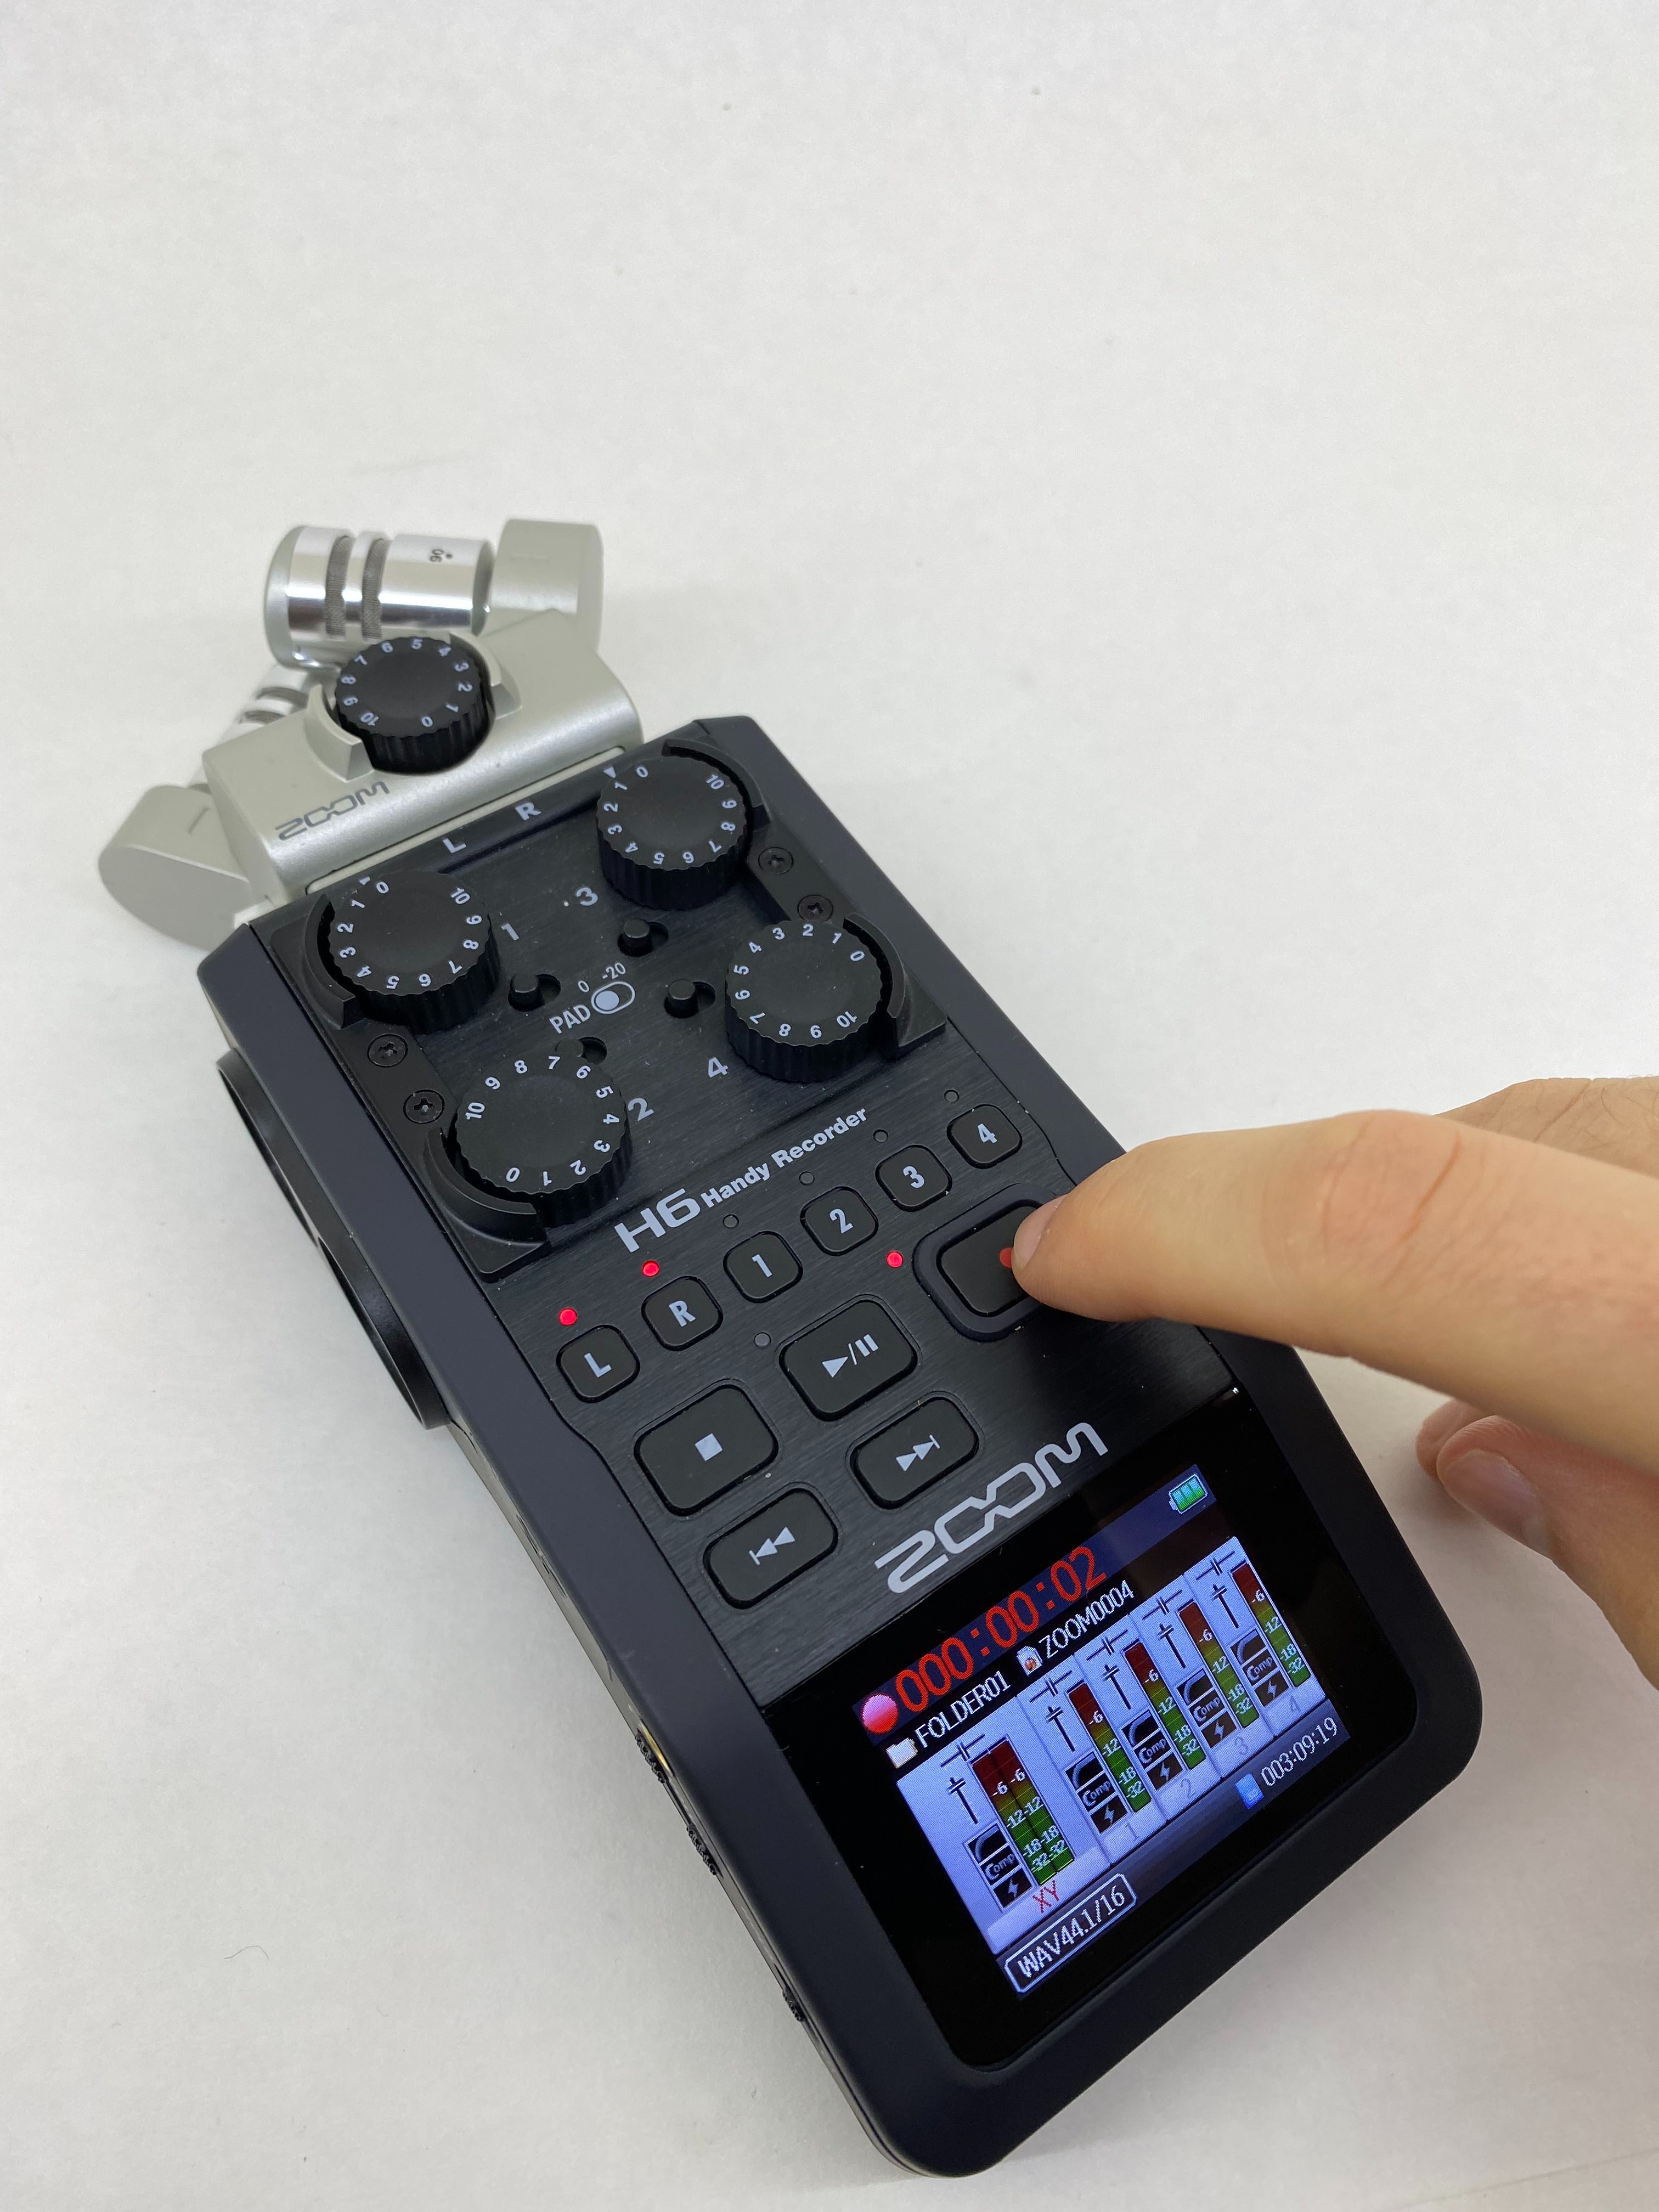
Before you start recording, press the L and R buttons. This tells your device to record from the input channel at the top (which is where you inserted either the XY or MS mic). Then, press the red circle at the center of your device to begin recording. When you are done, press the red circle again to finish recording.
Step 5
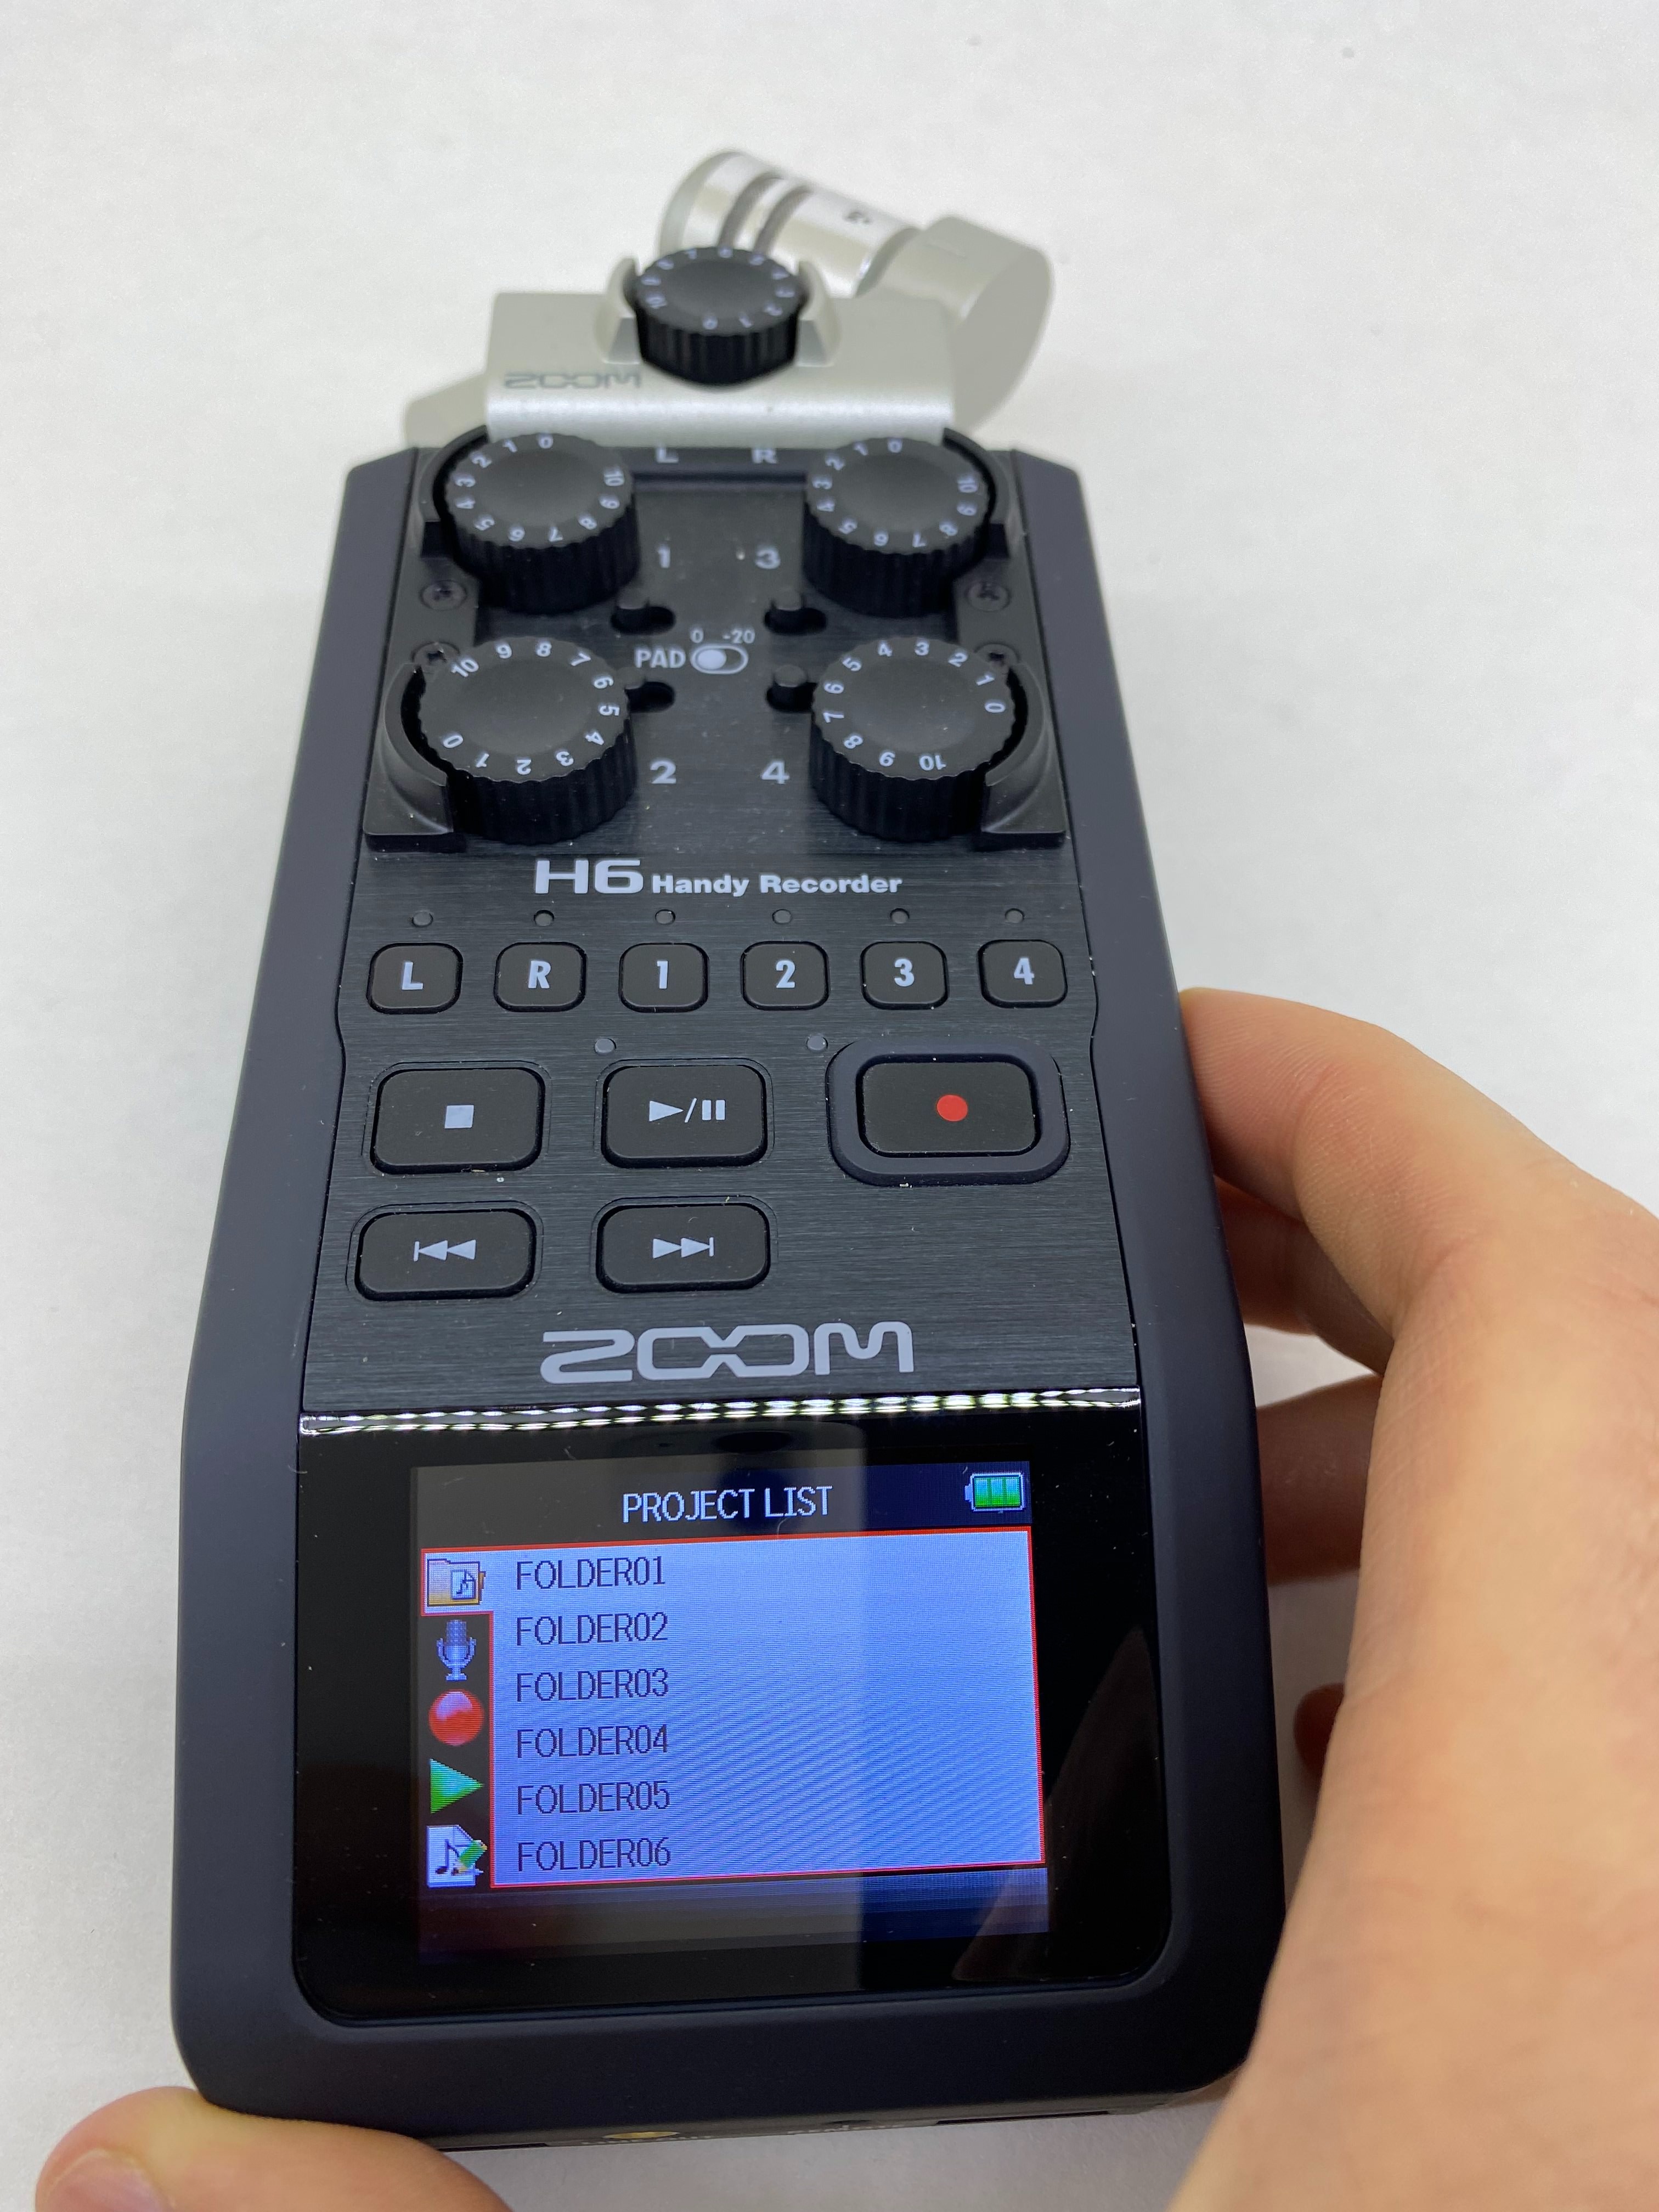
You can play back the audio files you record on the zoom H6 device. You may want to do this either to check audio quality or to make sure that a recording started or stopped at the correct time. To do this, press the “Menu” button on the right hand side and use the scroll wheel to navigate the different folders. Pressing in on the scroll wheel will select and play a recording, to return home press the red circle.
Step 6
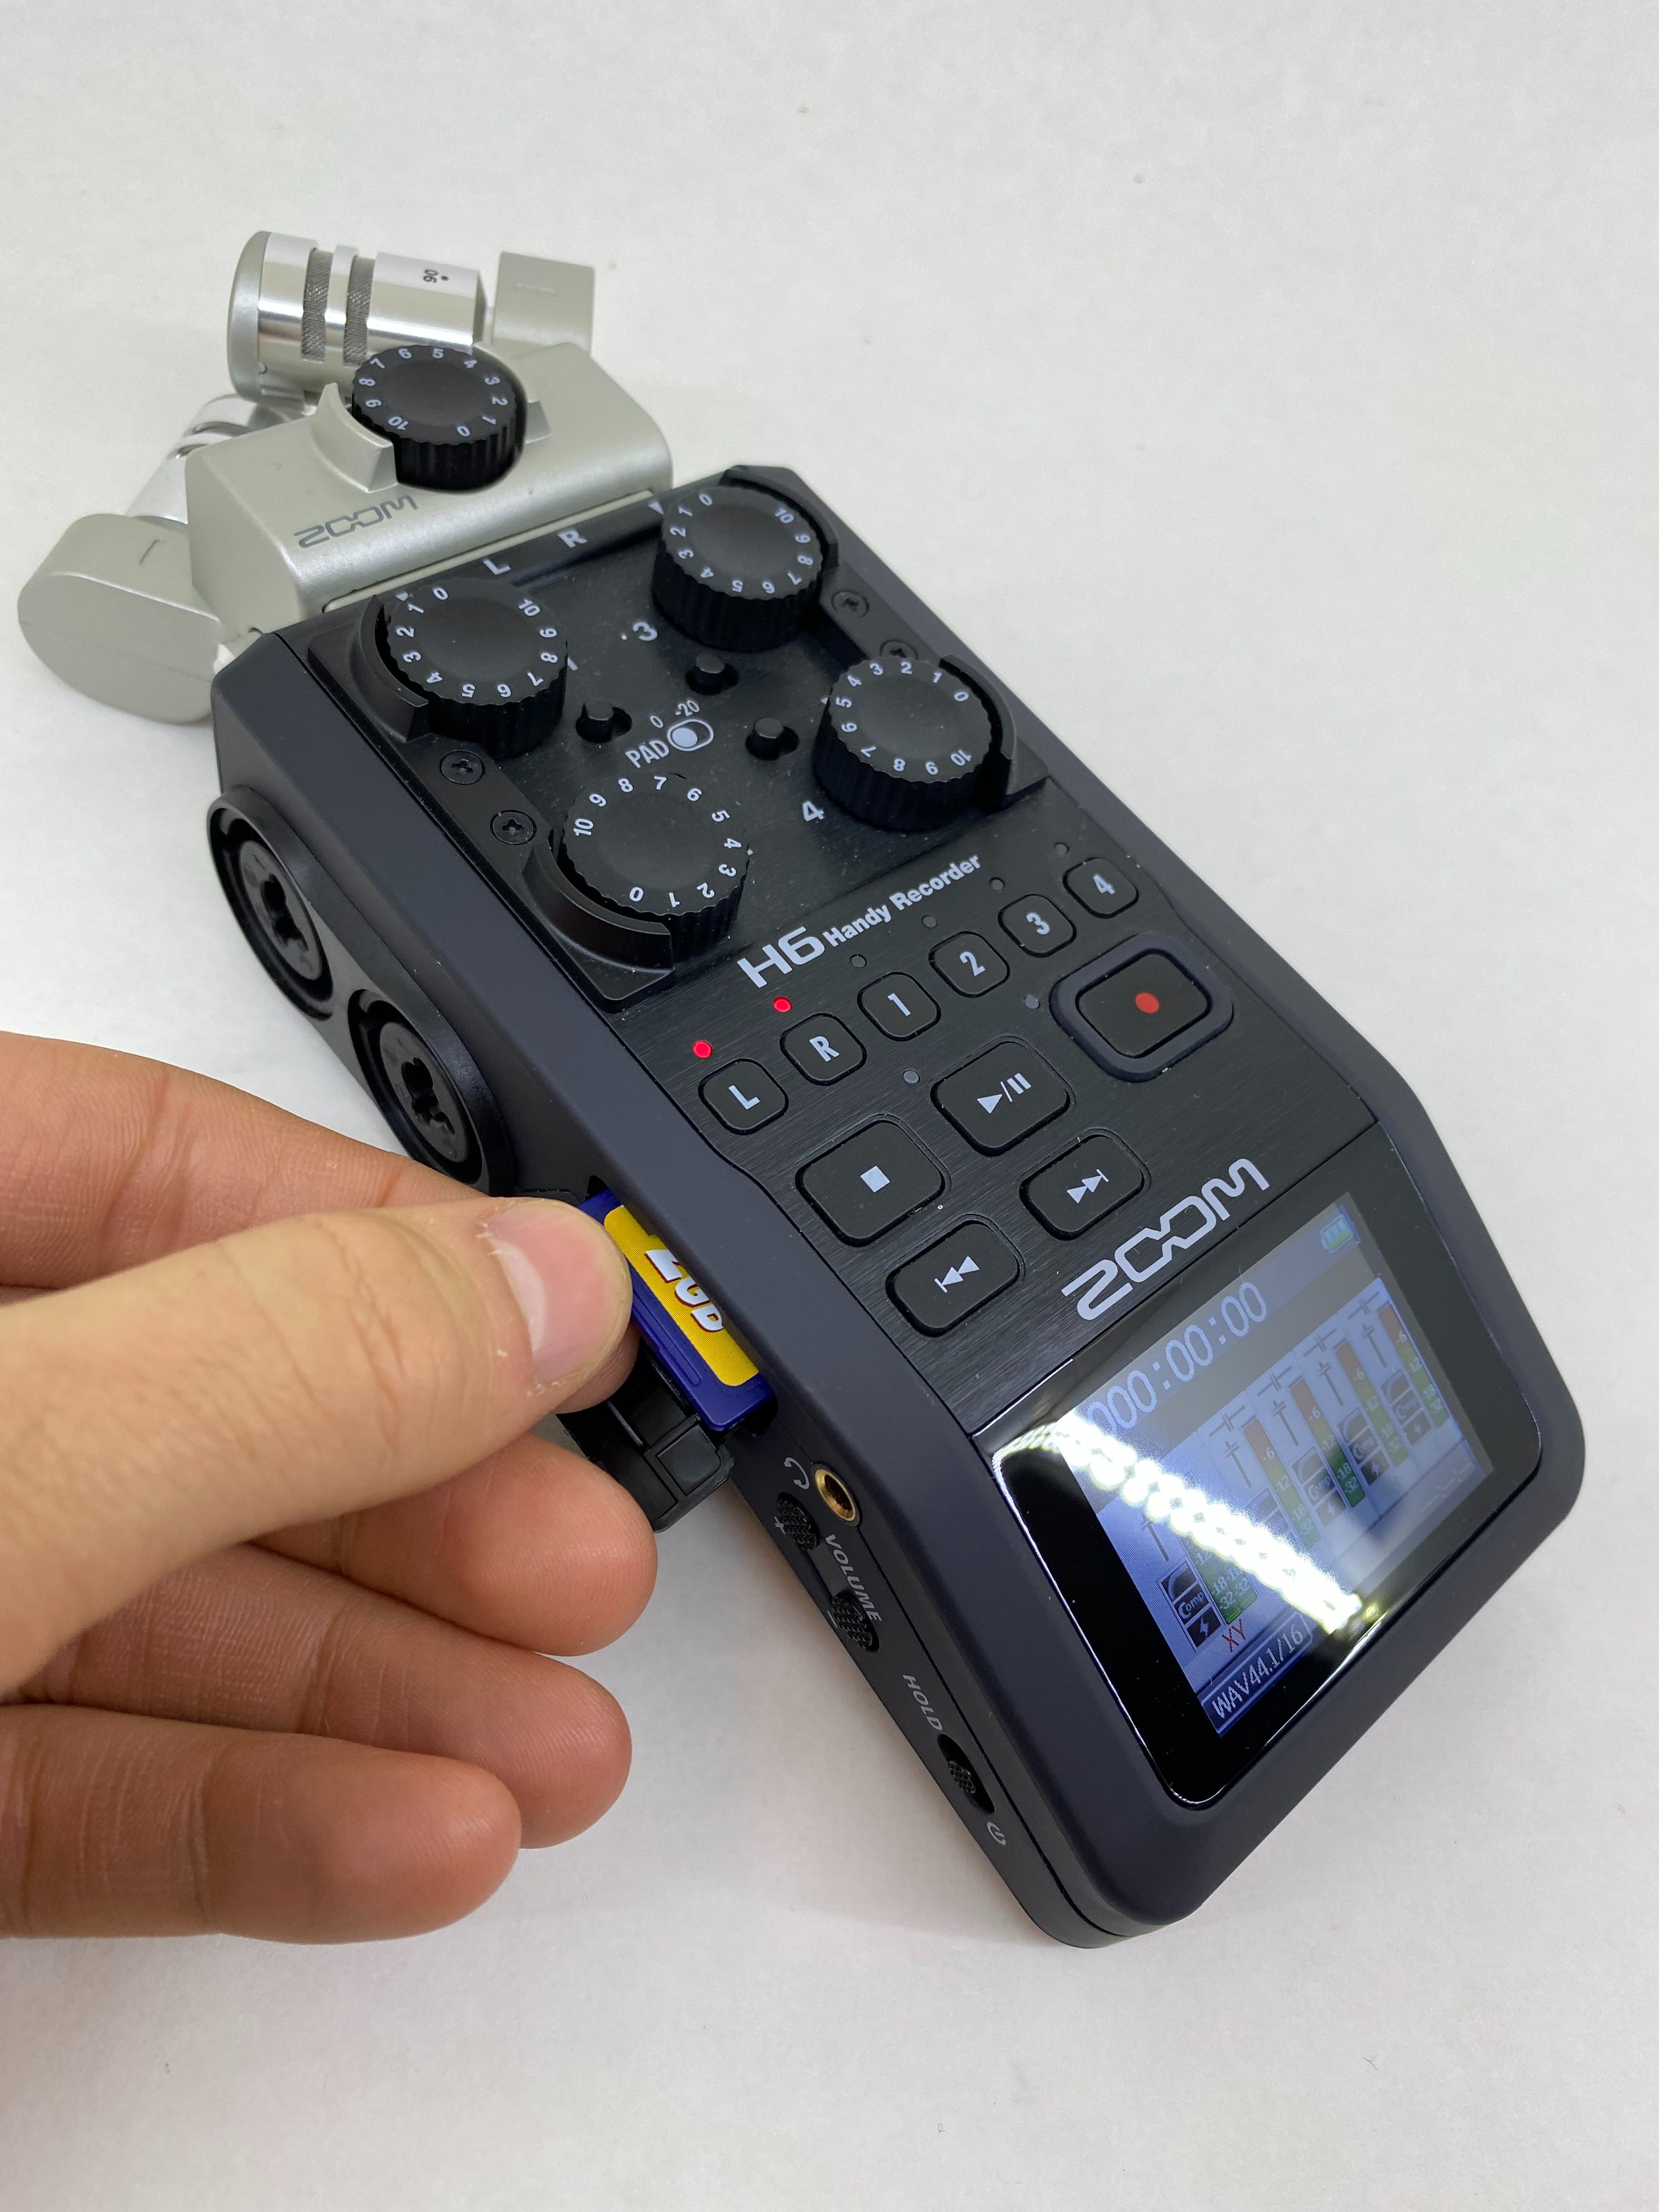
When done, remove the SD card from the slot on the left hand side labeled SD XC. You can then upload the files by inserting them into a computer and uploading your files to a folder or the desktop.
Congratulations!
Further reading:
- “How to Use the Zoom H6” by Smith College Digital Support on Youtube
- For background noise reduction in Udacity: https://stunning-rose.cloudvent.net/guide/how-to-reduce-noise-in-audacity/
- YouMedia Studio Basics
- Microphone types: Dynamic vs. Condensor
- Recording software: Audacity, Garageband, Reaper, Ardour, Mixbus, Logic, Pro Tools
- Sound absorbing panels: Moving blankets, quilts, pillows, Bonded Logic recycled denim panels, O.C. 703 Rigid Fiberglass Panels
Resources:
- Looperman: Royalty free music loops
- Freesound database (collaborative database of Creative Commons Licensed Sounds)